Import Canva designs into Marcomm
Connect Canva, then pick one of your designs when you choose an image. Marcomm exports it as a PNG and copies it into the media library.
- 1In Marcomm, go to Settings → Integrations → Canva and select Connect.
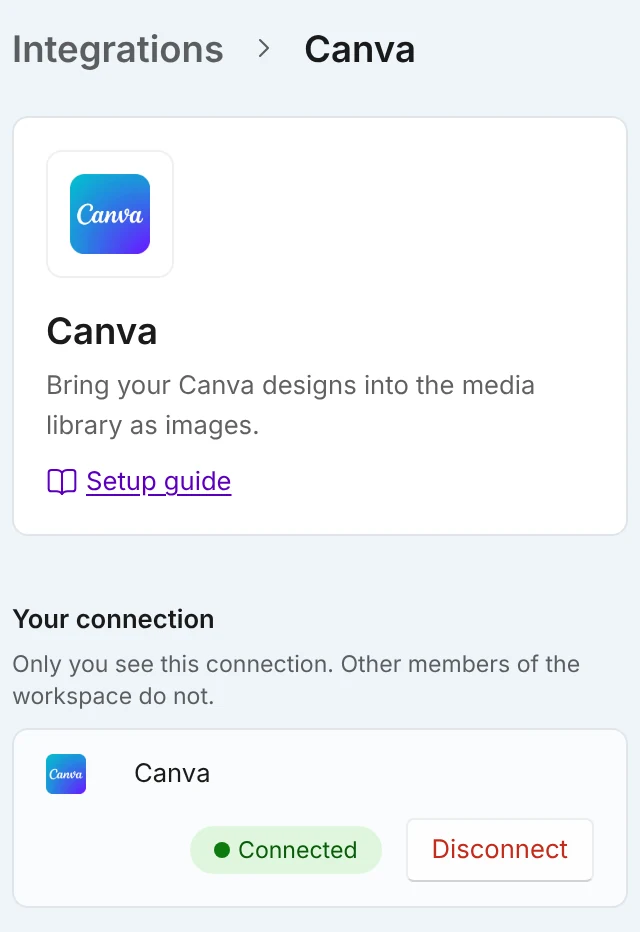
Once connected, the row shows Connected and a Disconnect button. Only you see this connection. - 2Sign in to Canva and select Allow.
Canva asks to read your design metadata and design content. Select Allow. - 3In the press release or blog post editor, open the image picker. In Choose an image, select the Cloud tab.
- 4Under Storage to import from, choose Canva and select one of your designs. Your most recently edited designs come first.
- 5Marcomm exports the first page of the design as a PNG and copies it into the media library.
If Canva is not connected yet, the Cloud tab shows Connect in Integrations, which opens this page.
Marcomm AI asks only to read your designs and their content. It never changes your Canva designs.
The list shows your 100 most recently edited designs, without folders. Only the first page is exported, and the image can be up to 10 MB. The copy counts toward your workspace storage like any upload.
Each person connects their own account, and only that person sees the connection. To stop, select Disconnect on the same page. Images already copied stay in the media library.
FAQs
Only the first page becomes an image. To use another page, save it as its own design in Canva first.
No. The copy is made once. Import the design again after you change it.
Wherever Marcomm opens Choose an image, for example in the press release and blog post editors.